by Kimberly Hill
Are you remodeling your house surroundings yet can't figure out how to set up a proper bridge over the creek? Well the hard time is over now.
This article will show you a practical on how to build a wooden bridge over a creek in a manner. You can easily take in apply by yourself right away.
Contents
All of us surely want the space around our house to be nice and beautiful. A wooden bridge that gets you over a creek would be a nice addition to the scene yet still practical in itself.
It's not like we can simply build a bridge out of nowhere, especially when we have little experiences. Even you are experienced in woodworking then making a wooden bridge is not really a walk in the park either.
Don't worry no more. You will be presented with the appropriate tools, material and suitable techniques in the guide. Below then you can set up a lovely wooden on your own in no time.
Anyone can hammer nails and woods together. But if you want to make something that can last, you need to do it right.
And in this case, building a bridge requires lots stuff plus a proper order and techniques to put the pieces together.
You may be a bit puzzled at first but rest assured, as long as you follow the guide slowly and correctly. You are guaranteed to own a quality bridge. Now let see what we are going to need.

To build a good wooden bridge, you are going to need plenty of quality wood components. There is a variety of way to connect the piece together but the components listed here will follow a common assembling method.
Try to purchase the woods from where you can be sure of their origin and quality. The length and height of these components should be based on the conditions of the creek banks.
The distance between them and finally is the weight that the bridge can support.
The rule of thumb here is to increase the thickness of the woods as the bridge gets longer and support more weight. Besides that, you can decide the components length and width as you see fit.
So let take a look at the components you need to buy and make here.
Not too different from any wood project, you are going to need the saw, hammer, screwdriver, drill and a tape measure. And you are probably going to need a circular saw and hand saw. Here to cut the wood and trim out certain spots.
You may need to flatten the ground a bit before you set up the bridge so a shovel may also come in handy.
The safety gear : Since you are going to face a lot of sawdust and splinter, put on a pair of goggles, gloves and facemask.
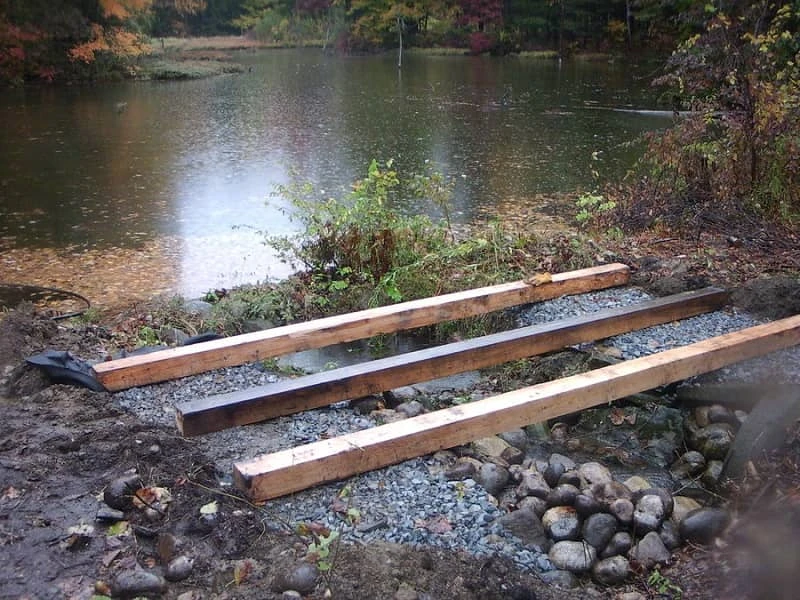
The bridge to be stable then you need to make sure the bridge bases are well balanced.
Try to modify the banks ground so the four bases are more or less at the same height or a slightly upper - lower position.
Whatever you do, the bases on one bank must be placed parallel to each other.
Put down the concretes blocks at the places that you have prepared. Use the tape measure to make sure the length and width between two bases on this bank.
The bases on the opposite banks are the same. Do your best to align the bases to each other since it will decide the form of your bridge.
Therefore make an impact on the bridge appearance.
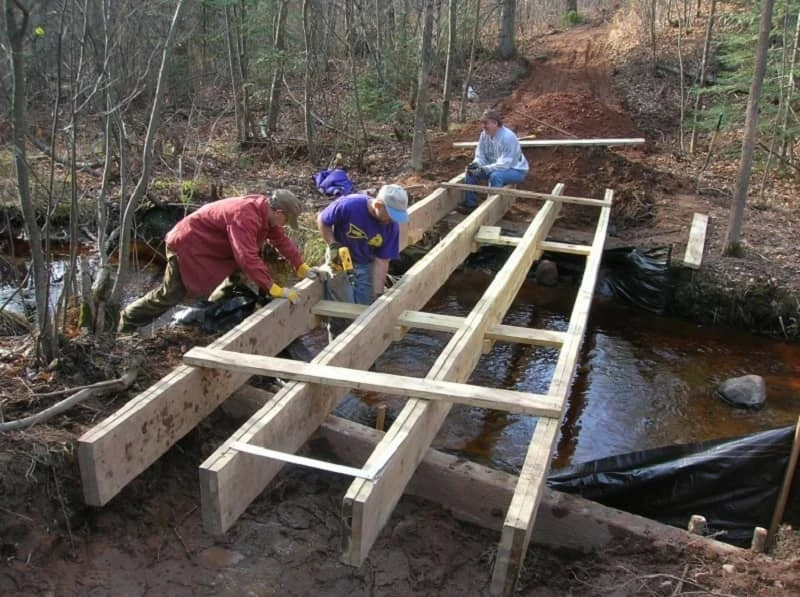
Now, position the beams between the bases. Make sure that each beam goes through the center of each base. That will guarantee a proper distribution of weight.
Not use the corner connector to securely bolt the beam into the concrete bases.
As a precaution, make sure the beams align themselves properly to each other and to the bases before you secure them.
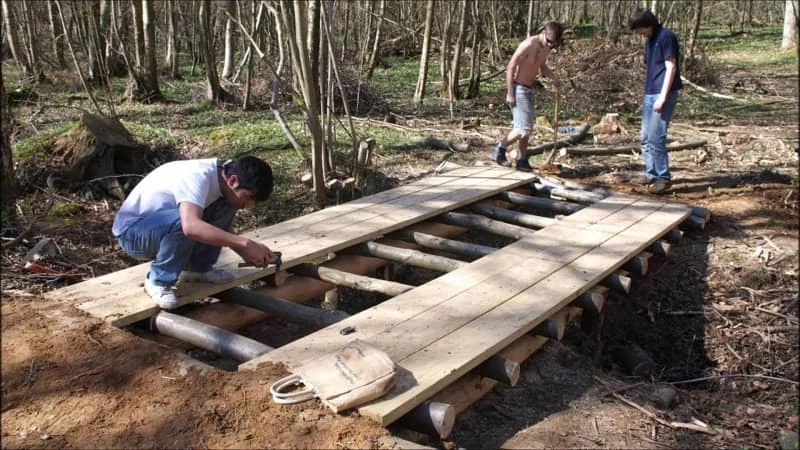
With the support beams in place, it's time we install the deck. Neatly stack up the planks on the beams and position them so they make a 90 - degree angle to the beams. Next to adjust the planks so that they don't poke too much to the left or right and stay precisely in line together.
After you have seen that the planks are in place, start bolting them down to the beams. Use a combination of screws, glue and steel wire so that the planks are strongly attached to the beam.
It can't be moved around anymore.

Your bridge is about to take shape now. But there are still things to be done. No matter the bridge is for people or vehicle, it's always wise to put up hand rail.
Of course it can't stop a vehicle from smashing through but it will at least notify the driver about the bridge width.
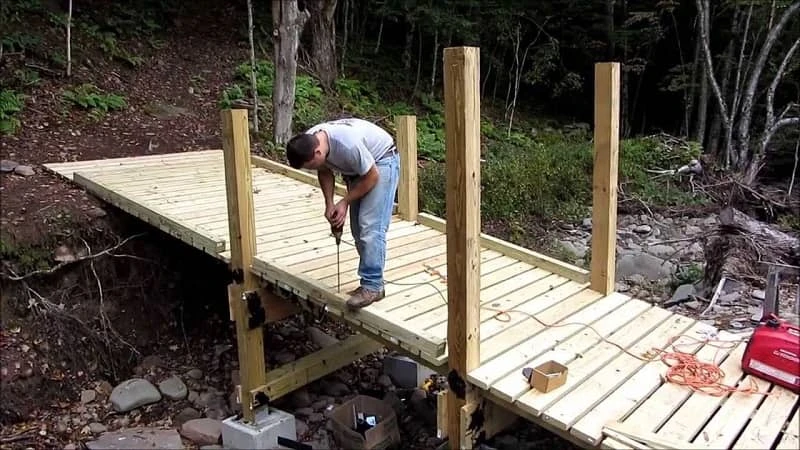
First, pick a number of beams to use them as posts to so you can attach the handrail. You also need to decide how many posts should be set up. Normally, a post should be set up after every 6 - 10 medium size planks to provide enough stability.
You have decided the number of posts and where to place them, use a saw to cut off parts of the planks that poke outside the beams. Since these parts will prevent you to connect the posts to the beams.
After that, simply bolt the posts into the beams by screws and connectors.
Finally, the posts are up, cut a plank in two half and install one half each to it into to left and right set posts. Screw and glue the plank half in and your bridge is done.
Go around and start trimming then apply a layer of wood preservative if you want.
In the end of it, not too hard to absorb, right? Making a bridge is surely a laborious task but with the right material, tools and methods as stated in the article, it's not that difficult at all.
And at the end of the day, there is nothing better to feel that you have managed to build a bridge on your own just by following this guide.

About Kimberly Hill
Now it is just me, Kimberly Hill living in New York city, N.Y.
Loves to blog about various aspects of life that matter most.
Received the BA degree in Art History from Stanford University of California.
 |
 |
 |
 |
Popular Posts
 Homer
Homer